
You don’t need a camera, a ring light, or the confidence to talk to a lens to build a real YouTube channel. Learning how to create faceless YouTube videos with AI tools is now a genuine path into content creation for complete beginners, and in 2026 the tools that handle scripting, voiceover, and visuals have gotten good enough that a solo creator can put out a polished video without ever appearing on screen.
This beginner’s guide walks through the actual production process, step by step, plus the AI tools worth paying for at each stage and the ones you can skip when you’re just starting out.
Quick Answer
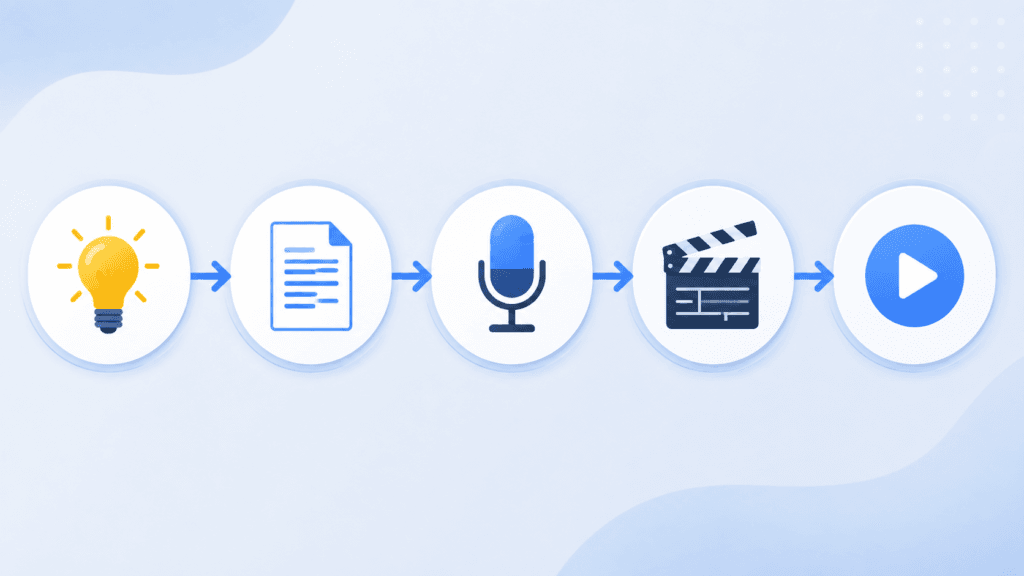
A faceless YouTube video comes together in six stages: pick a niche and topic, write a script (with AI help), generate an AI voiceover, gather or generate visuals, edit everything together, and publish with proper AI-content disclosure where required. Most beginners use a combination of a writing assistant like ChatGPT or Claude for scripting, ElevenLabs for voiceover, and CapCut for editing—no single tool does the whole job on its own.
Step 1: Pick a Niche You Can Sustain
Faceless channels succeed in evergreen, information-heavy niches—personal finance, history, true crime, tech explainers, and self-improvement are the most common because the content works without a personality on camera. As a beginner, pick a niche you can research and script for months without running out of ideas, not just the one that looks profitable this week.
Who should avoid the faceless format entirely? If your niche depends on personal charisma or physical demonstration (fitness form, cooking technique, or comedy), showing your face usually performs better.
Step 2: Write the Script with AI Assistance
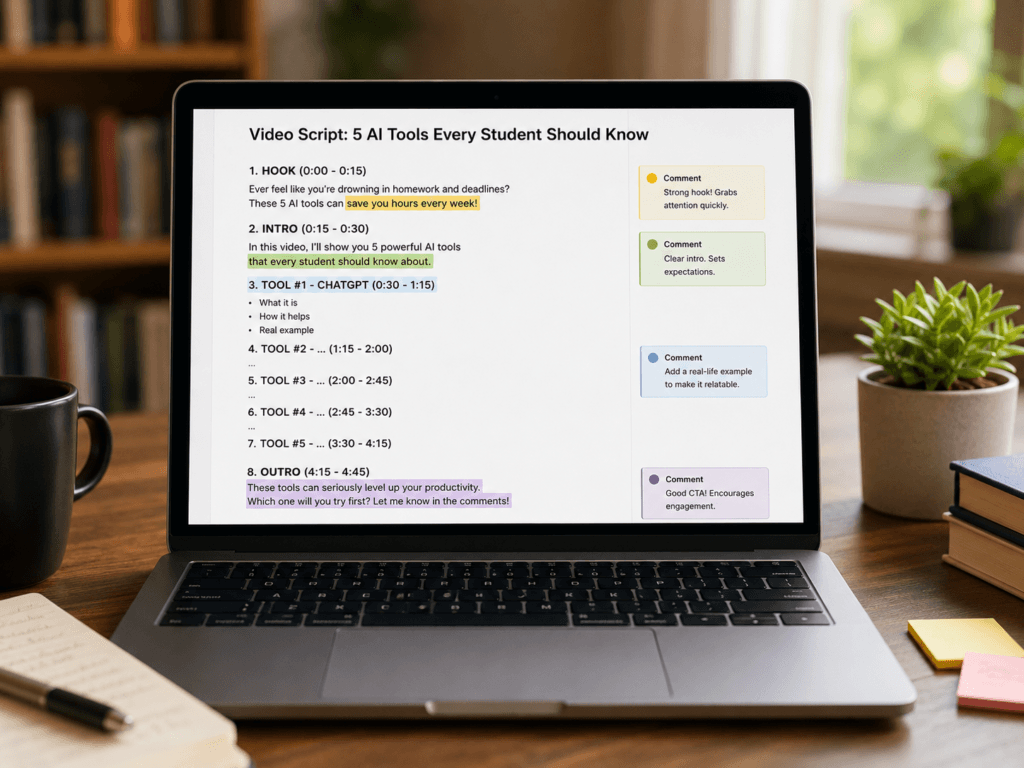
Every strong faceless video starts with a script, not a topic and a prayer. A general-purpose AI writing assistant like ChatGPT or Claude is genuinely useful here for a first draft, but as a beginner, don’t skip the editing pass—raw AI scripts need a human touch to avoid sounding like every other AI-narrated video in your niche. For a broader look at which AI writing tool fits different blogging and scripting needs, Best AI Writing Tools for Bloggers in 2026 is worth a look if you’re also writing show notes or descriptions.
Keep scripts conversational and front-load the hook—the first 10-15 seconds decide whether a viewer stays. Read the script out loud before recording; if it’s awkward to say, it’ll sound awkward narrated too.
Step 3: Generate an AI Voiceover for Your Faceless YouTube Video
This is the step that makes or breaks a faceless channel—a flat, robotic voice loses viewers fast. ElevenLabs is widely considered the strongest option for natural-sounding AI narration in 2026, with voice cloning and a large library of pre-built voices. Beginners on a budget often start with PlayHT or Murf instead, which cost less but don’t hold emotional tone as well across a long script.
Record or generate the voiceover against your final, edited script—not a rough draft, since AI voice tools time each line, and re-generating after editing wastes credits.
Step 4: Gather or Generate Your Visuals
Faceless videos are usually built from one of two visual approaches: real stock/B-roll footage or AI-generated visuals. Most beginners in 2026 mix both—AI tools handle cutaways and abstract concepts cheaply, while real stock footage covers anything that needs to look concretely real.
A typical beginner visual stack looks like this:
- Stock footage and images for real-world scenes (subscription libraries or royalty-free sources)
- AI image generation for thumbnails and stylized visuals
- AI video generation for short cutaway clips where stock footage doesn’t fit
Match the visual pacing to the voiceover—a new visual every 3-5 seconds keeps retention up on talking-heavy niches like finance or history explainers.
Step 5: Edit Everything Together
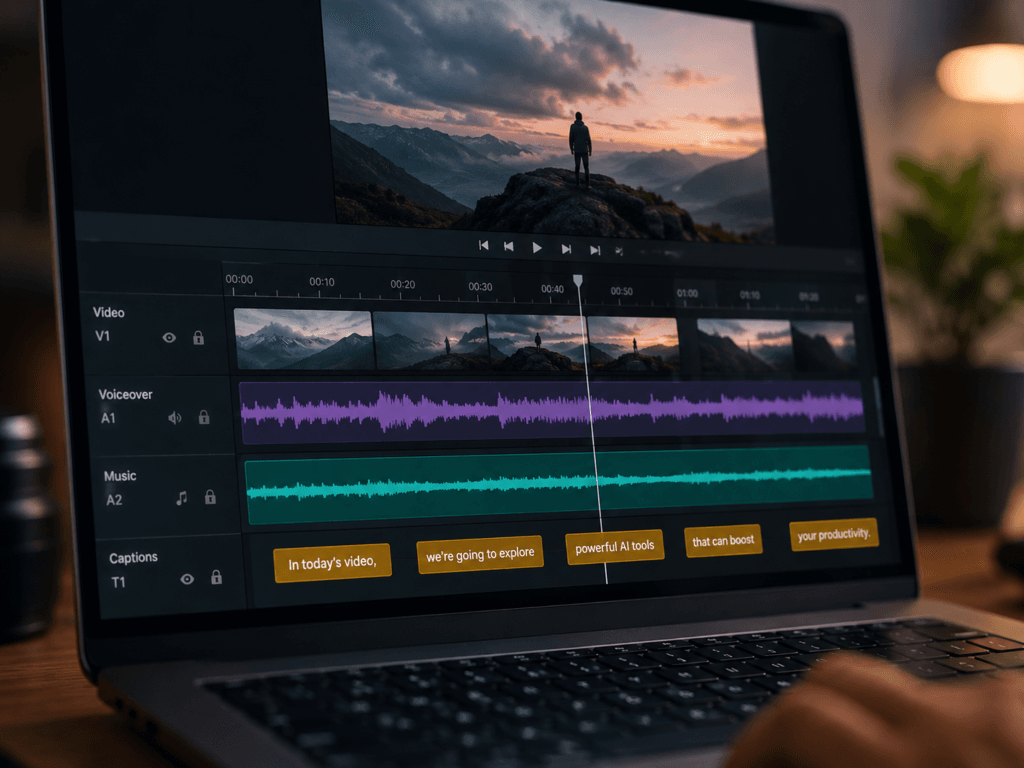
Layer the voiceover, visuals, background music, and captions in a single editing pass. Filmora is the most commonly used editor for beginner faceless YouTube production because it’s free, handles auto-captions well, and has templates built for exactly this format.
Burn in captions by default. A large share of YouTube viewing happens with sound off or low, and captions are one of the simplest retention wins available to a beginner.
Step 6: Disclose AI-Generated Content Where Required
YouTube requires creators to disclose when a video contains realistic altered or synthetic media, including certain AI-generated content, through a label in the upload flow. See [website external link: YouTube’s official disclosure guidance] for the current policy.
This isn’t optional for beginners just because the channel is new — skipping it risks the channel rather than just the video. Check the current disclosure toggle in YouTube Studio before publishing each upload.
Step 7: Publish, Then Study What Worked
Your first faceless video won’t be your best one, and that’s normal for a beginner. Publish on a consistent schedule, then actually look at audience retention graphs in YouTube Studio—the exact second viewers drop off tells you more than any tool ever will. If a niche or format isn’t sticking, the guide to picking a sustainable niche back in Step 1 is worth revisiting before you keep publishing into a topic that isn’t working.
Common Mistakes Beginners Make
Skipping the script edit. Raw AI-generated scripts tend to repeat phrases and pad length. A 10-minute editing pass on the script saves far more retention than a fancier voice or visuals ever will.
Choosing visuals over voice quality. A cheap voiceover with great visuals still loses to a great voiceover with simple visuals. If you’re on a tight budget as a beginner, spend it on the voice first.
Publishing without captions. This is one of the easiest, lowest-effort retention improvements available, and it’s skipped constantly by new faceless creators.
Ignoring the disclosure requirement. Assuming this only applies to “obviously fake” content is a common and costly beginner mistake — check the current policy for what actually qualifies.
FAQ
Do I need to show my face at all to run a faceless YouTube channel? No. The entire format is built around never appearing on camera, using AI voiceover and stock or AI-generated visuals instead.
What’s the cheapest way to start a faceless YouTube channel as a beginner? Free tiers of ChatGPT or Claude for scripting, a budget voice tool like PlayHT, free stock footage, and CapCut’s free editor cover the full workflow at minimal cost while you test whether the format works for you.
How long does it take a beginner to produce one faceless video? With a defined workflow, a single video typically takes two to four hours from script to final export, though this varies heavily by video length and how much custom visual generation is involved.
Can faceless YouTube channels actually make money? Yes, once a channel meets YouTube Partner Program requirements. Earnings vary enormously by niche, view count, and audience retention—there’s no guaranteed outcome.
Is AI voiceover against YouTube’s rules? No, but YouTube requires disclosure when content includes realistic, altered, or synthetic media, so check current labeling requirements before publishing.
Which AI voice tool sounds the most natural for a beginner’s narration? ElevenLabs is widely regarded as the strongest option for natural-sounding long-form narration in 2026, though it costs more than budget alternatives like PlayHT or Murf.
Do I need expensive equipment to start? No. A laptop, an internet connection, and the AI tools covered in this guide are enough to produce a publishable faceless video as a complete beginner.
Conclusion
Learning how to create faceless YouTube videos with AI comes down to a repeatable process, not a single magic tool: a solid script, a natural-sounding voiceover, visuals that match the pacing, and a clean edit with captions. As a beginner, start with the free or low-cost version of each tool in the stack, get one video through the full workflow, and only upgrade the pieces that are actually holding your videos back.
The channels that stick around aren’t the ones with the fanciest AI stack—they’re the ones that published consistently and paid attention to what their retention graphs were actually saying.
